Follow Me

Saturday, January 2, 2021

Burnt Cheesecake Thermomix Recipe

 Burnt Cheesecake Thermomix Recipe 


Everybody's favourite, we especially love the creamy burnt cheesecake, to know more about the origin of burnt cheesecake, read  this article that explains how this cake was invented and became popular. 

This recipe is adjusted by Lee Yong to suit our taste, adjusted the duration of baking, the size of a baking tin.... after many trials. I hope you love this recipe.

Burnt Cheesecake Thermomix Recipe

Ingredient A

250g Cream cheese, room temperature
100g Yoghurt
20g Lemon Juice
240g Whipping Cream
1/4 tsp Vanilla Essence

Ingredient B

150g Sugar
35g Cornstarch
4     Eggs

Preparation:

1. Preheat oven 200°C for 15 minutes

2. Put ingredient A to blend
    2 min / speed 5 (adjust time if using chilled cream cheese)
    Scrap down and blend again when needed.

3. Add ingredient B one at a time, start with sugar
    2 min / speed 5 
    While mixing, via feeding hole, sift in cornstarch, slide in one egg at a time.

4. Increase speed
    1 min / speed 5
 
5. Line a 7" round baking tin with baking sheet with at least 10cm extended up 
    leaving enough edges for easy handling.

6. Sift mixture into baking tin, bake for 25cm to 30 min

7. Open a gap of oven door, leaving baking tin in oven for 15 minutes. 
    The centre is runny and jiggly when you move the tin, this is what we want.

8. Allow to cool at room temperature. 

9. Cover with sling wrap. Chill for a few hour, remove paper before serving.

Creamy Burnt Cheesecake Slice

Bon appétit


Here is Burnt Cheesecake Recipe Template 


Friday, January 1, 2021

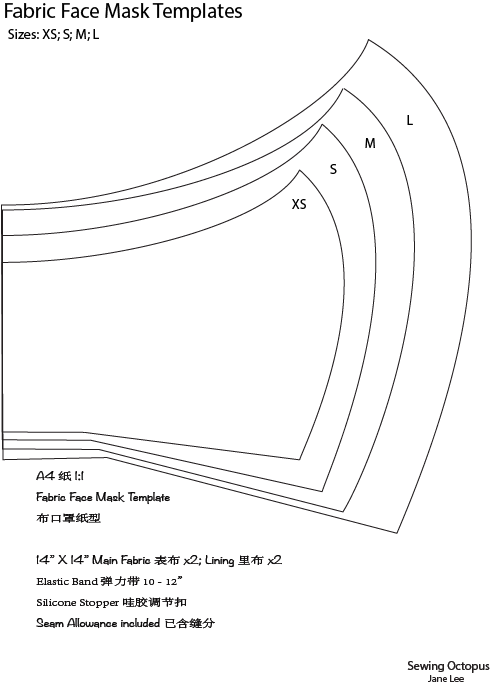
Preparing DIY face mask templates for download


This will be my first time drawing template by using Adobe Illustration, watching YouTube videos to learn how to operate AI step by step, pick up simple commands and techniques, there were times quite frustrating especially left control panels. Thank God that managed to overcome it. 

Initially uploaded a picture of hand drawn template which I used these designs to sew masks as Christmas presents. 

It was my desire to learn A.I long ago, now that I found the very purpose to start it!

05 template only three sizes without title


Title and XS size are added in 
This is 06 templates, now have tried another two more. Indeed I need to try to sew face mask by using these templates. As I have done some adjustment on curve designs if you compare the drawn template and new template.

Templates cut out from version.06 

08 template was Improved by added in more informations for preparations. 

At last, I need to stock up more fabrics and lining to sew mask by using these new designs! Will update  DIY Fabric Face Mask Sewing Tutorial along the way if I make amendments. 


Vietnam Baguette Thermomix Recipe

Vietnam Baguette Thermomix Recipe

越南法棍面包 小美食谱


Ingredient A 

330g Water
2 1/4 teaspoon dried yeast (7-10g)

Ingredient B

500g Cake Flour
1 1/2 Teaspoon salt
1 Tablespoon sugar

Preparation

1. Place ingredient A into mixing bowl and warm
    2 min / 37°C / speed 2. Meanwhile, lightly grease a large bowl and set aside.

2. Add ingredient B and knead
    2 min / knead. Transfer dough into prepared bowl. Cover bowl with cling film or a damp kitchen until it doubled in size ( approx. 1 hours)

3. On a lightly floured surface, separate dough into 8 equal pieces. Gently flatten and roll each piece loosely into a log shape and set aside on a lightly floured surface. Dust rolls lightly with flour, cover with cling film or a damp kitchen towel and allow to rest for 20 minutes.

4. Again, gently flatten each piece of dough into a rectangle, taking care to preserve the air bubbles trapped within. Roll dough again into a log shape. Pinch seam of roll with your fingers to seal. Elongate roll into a baguette shape, rolling back and forth exerting gentle pressure from the middle of the baguette to its ends. Place baguettes seam-side down onto baking paper, pulling up paper between baguettes to create a low wall. This will help baguettes to hold their shape and will prevent them from sticking to each other as they rise. Cover baguettes loosely with cling film or a damp kitchen towel and let rise for further 45 minutes.

5. 20 minutes before end of rising time, place baking trays into middle part of oven, and another baking tray for storing water in the lowest part of oven.
    Preheat oven to 250°C.

6. Prepare approx. 100g very hot water in a cup. Score baguettes. Slide baguettes, together with baking paper, onto the top preheated baking tray. Quickly but also carefully splash the hot water onto the lower baking tray to create steam and immediately close oven door to trap the steam. Bake for 20 minutes, or until dark golden brown. If baguettes seem quite brown before end of baking time, reduce oven temperature to 230°C. Allow baguettes to cool for 20 minutes before slicing.

越南长棍面包 小美食谱

材料 A 

330克 水
2 1/4 茶匙 干酵母粉 (7-10克)

材料 B

500g Cake Flour
1 1/2 Teaspoon salt
1 Tablespoon sugar

做法

1. 将材料A放入锅
     2 分 / 37°C / 速度2 
同时,将大碗抹上一层薄油备用

2. 加入材料B
    2 分 / 揉面团
将面团放入抹好油的大碗中,用保鲜膜或湿的厨用毛巾覆盖,静置发酵直到两倍大 (约 1 小时)

3. 将面团放在撒了面粉的台面,用长刀子将面团切成 8 等份,轻轻地杆平并松松地卷成圆柱状,静置在撒了面粉的台面上。在面团卷上撒上一些面粉,用保鲜膜或湿的厨用毛巾覆盖,静置约20分钟。

4. 再一次将每份面团轻轻地杆开成长方形,并非常小心地不要弄破面团里的气泡,再次将面团卷成圆状状,用您的手指都将面团的接缝捏合,将面团卷整型成法国长棍面包型状,从面团卷中间开始轻轻施力并前后滚动至它的两端,将法国长棍面团的接合面朝下放在烘焙纸上,将面团中间的烘焙纸拉高形成矮壁,使每个面团都独立被隔开,这样面包就能够维持它的形状,并且避免互相粘住。用保鲜膜或湿的厨用毛巾轻轻覆盖面团,再一次静置45分钟。

5. 发酵结束20分钟之前,放一个烤盘放在中层,另一个放在最低层呈水之用。预热烤箱250°C。

6. 准备一杯大约 100°C 的热水,用尖刀划出一条裂痕,将面包联通烘焙纸一同滑进烤盘。小心迅速地将热水倒进最下层的烤盘,使烤箱产生蒸汽,立即关上烤箱的门留住蒸汽在里头。以250°C烤20分钟或直到颜色呈现深金黄色。如果面包在烘焙结束前已呈现深黄色,则将烤箱温度调降至230°C,取出面包放20分钟,待凉后切片食用。


Thursday, December 31, 2020

DIY Fabric Face Mask Sewing Tutorial

 DIY Fabric Face Mask Sewing Tutorial

DIY 布口罩教程

As a music teacher, planned to sew handmade face mask for student as Christmas gift. Some of them are really small in size, I saw them using adult mask all the time, some even blocking their sight while they are playing violin, struggling reading music scores. 
今年的圣诞礼物早已打算缝制布口罩给音乐学生们,他们当中有些个体很小,常常看见他们戴着超大的口罩来上课,甚至阻碍小提琴学生阅读乐谱。


You need 你需要
14"x7" main fabric and lining each; 12" Elastic band 3mm one strand;Silicone Stopper
14寸 x 14寸  表布与里布各一片; 一条 3mm 弹力带 12寸; 哇胶调节扣


Cut 2 pieces for each main fabric and lining
预备表布与里布 各两片


Stamping 印章


Line wrong sides out, flat seam together curved side.
将表布/里正面相对,反面向外,平缝圆弧边缝合。

Clip seam allowance whenever is in curved design, in this picture I am using zig zag scissors for this purpose. 
凡是缝合圆弧或角落边,都需要修剪边缘,我便是用了波浪锯齿剪刀沿着弧度小心剪去。

Using finger presser help to flatten fabric nicely before sewing.
利用拼布骨笔压布

Flip over right side and press seam to stable the curve line.
翻过表面压扣缝以坚固弧型。


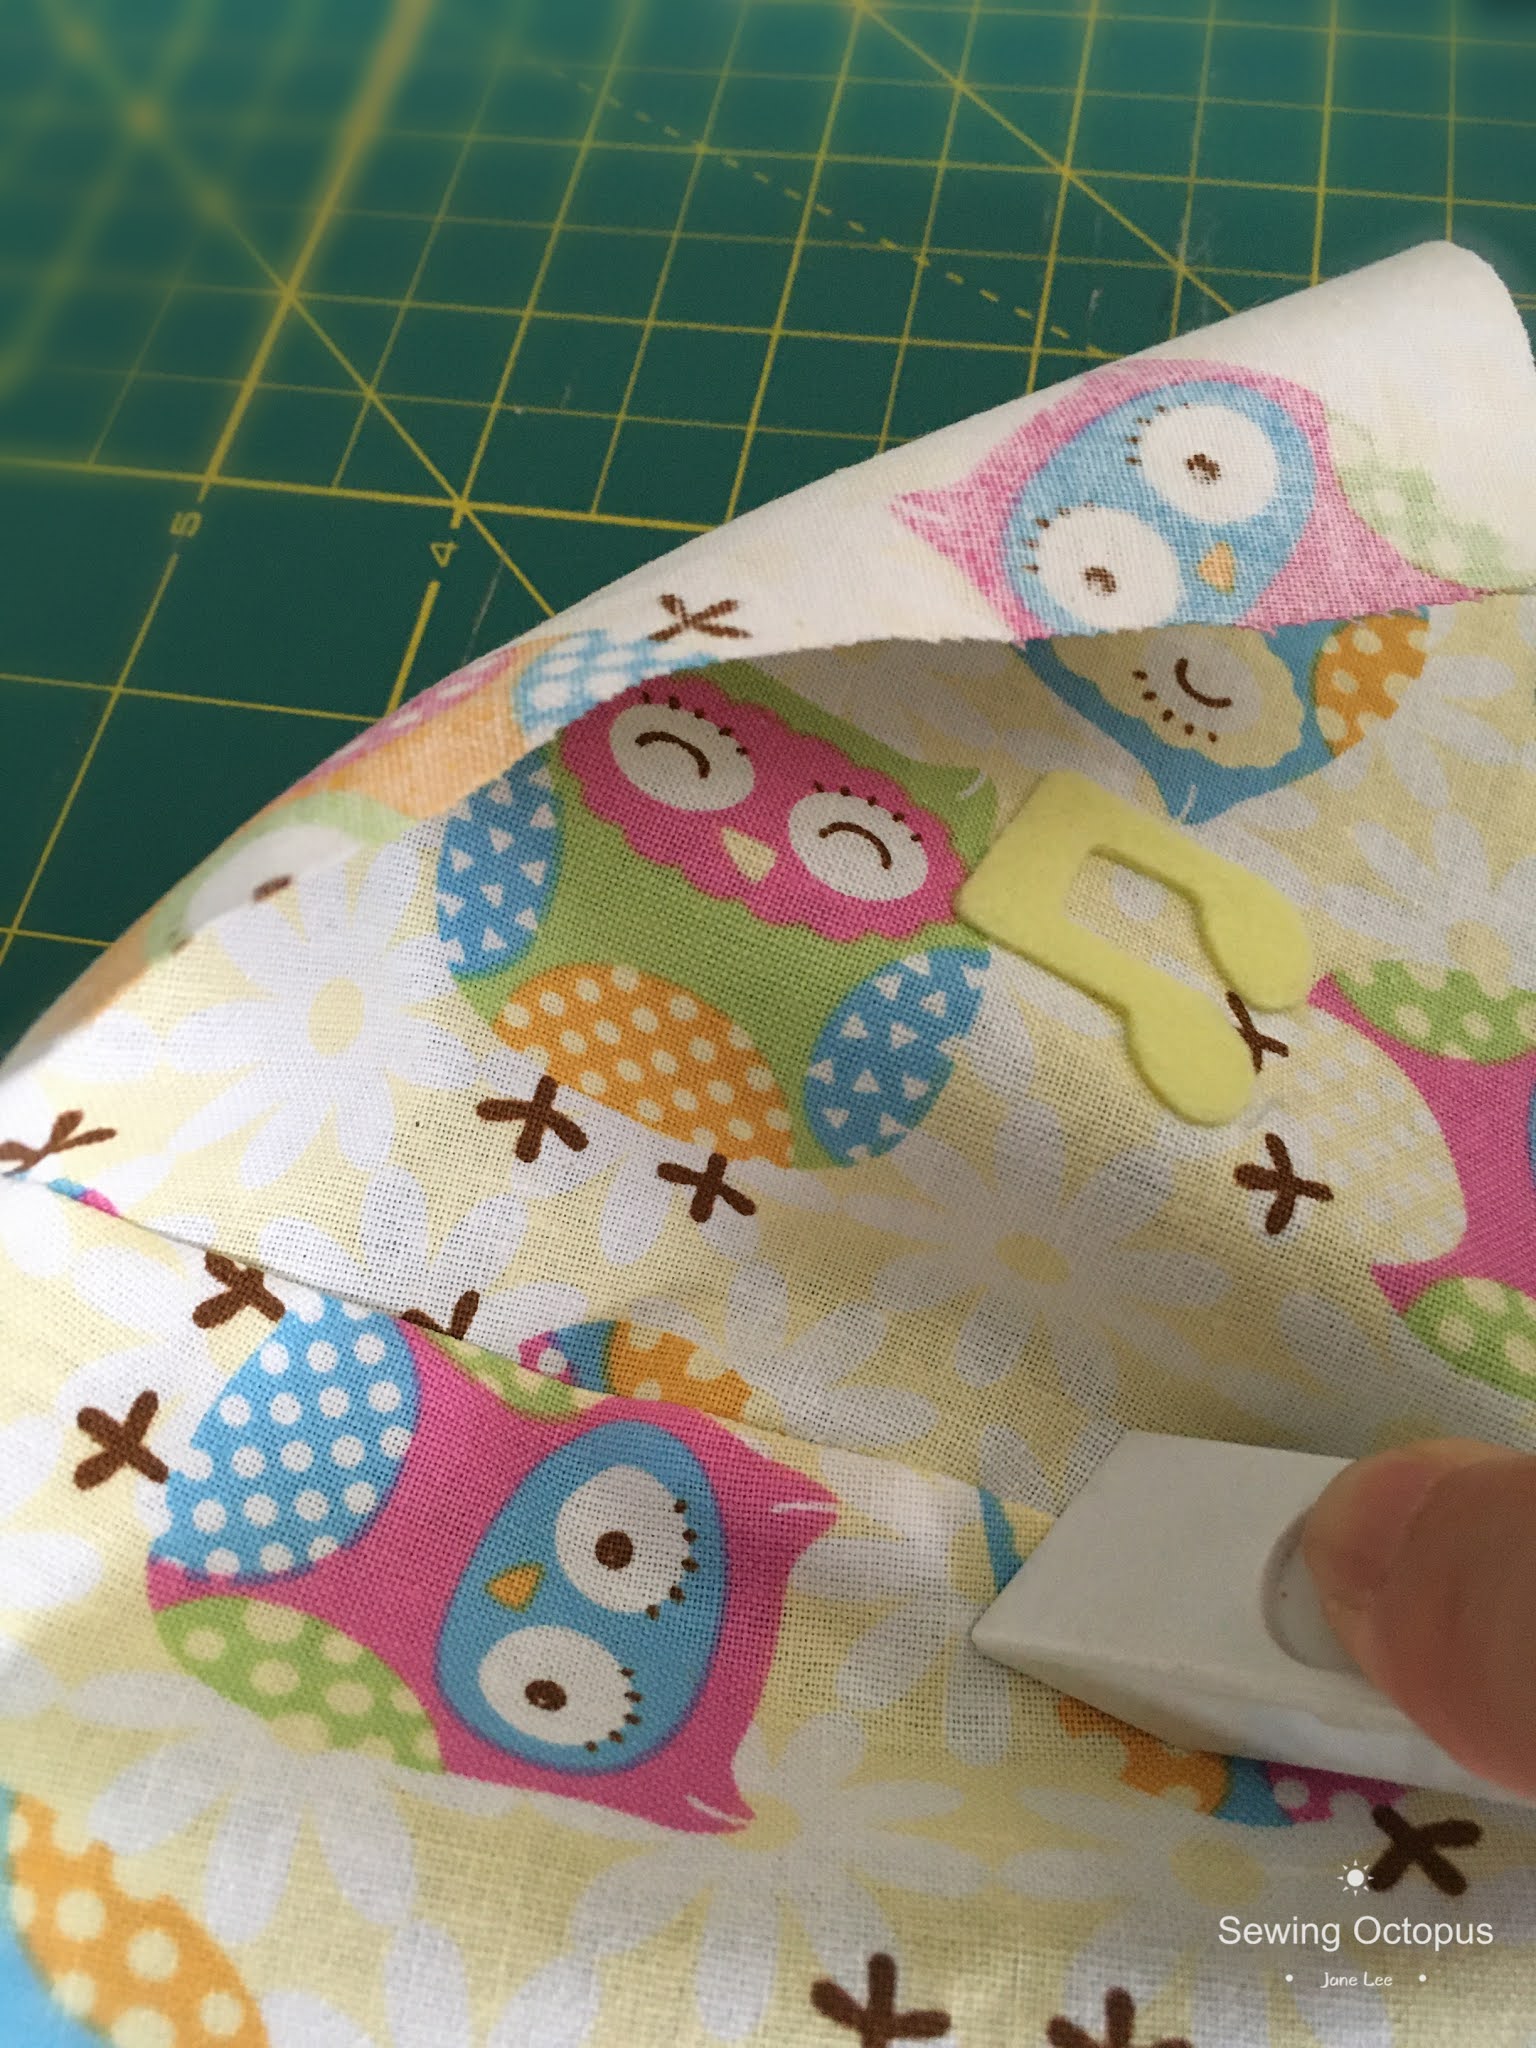
Iron on self-adhesive musical notes.
熨烫小音符自贴布。

Line both fabrics the right side face together.
将外布与内布正面相对。


Sew both top and bottom lines 
平线缝合上下线

Clip both curvy edges
分别修剪各弧边
f
Turn over right side out, press edges with finger presser.
翻过正面,压布。


Top stitch both sides
两边都扣压缝线

Fold enough raw edge for both sides, double fold hem, top stitch along the hem 0.1cm away from edge.
然后将两边的贴边向反面再折转一定的量,使布片的毛边被卷在里边;最后沿贴边上口缉0.1cm的明线。

Cut 12" Elastic band into half to make 2 strands of 6 inches in length, loop into both end side pockets, make a reef knot, hide the knot inside pocket.
将12寸的弹力带剪半,成两条6寸的弹力带,穿进去两边的耳袋系个平结弄了个耳环,把平结调到耳袋里便可。
I only use adjustable silicone stopper for L size adult masks.
哇胶调节扣只用在大号口罩


More ideas for DIY face masks:


Wednesday, December 30, 2020

Oreo Duo Colour Bread Thermomix Recipe

 Oreo Duo Colour Bread Thermomix Recipe

奥利奥双色面包 小美食谱


按自己喜欢叠放
Stack on top of each other, roll up.


放入烤盘等待发酵第二次


可以加入绿茶抹,别有风味。
Variation recipe with matcha powder.

Hokkaido Loaf Thermomix Recipe

 北海道面包 小美食谱

Hokkaido Loaf Thermomix Recipe Template

I let dough sits in TM bowl for the 1st proofing.

In this picture the dough is divided into 5 balls, flattened and roll up, laying next to each other in long loaf pan.

The dough is triple in size, ready to bake.


Custard Milk Bread Thermomix Recipe

 Custard Milk Bread Thermomix Recipe Templates

 卡仕达松软面包 小美食谱


Japanese Condensed Milk Bread Thermomix Recipe


日式炼奶面包小美食谱

 Japanese Condensed Milk Bread Thermomix Recipe

Ingredient A:
200g Bread Flour
25g   Condensed Milk
120g Fresh Milk
10g  Sugar
3g Dried Yeast
3g Salt

Ingredient B
20g Unsalted Butter in room temperature

Ingredient C : Condensed Milk Mixture
25g Condensed Milk
25g Butter in room temperature

Egg Wash

1 egg yoke (or white) with 1/2 tsp water, lightly beat

Toppings

Almond Flakes, Pumpkin seeds, some coarse sugar (Option: raisins, dried cranberries and others as decorative choice.)

Preparation:


1. Mix ingredient A 

     speed 6 / 6 min


2. Put in butter, mix

      speed 6 / 6 min or up to 10 minutes or more to gain windowpane

*put wet ingredients then follow by dried ingredients.

3. Allow dough to has it first proofing in TM bowl, about 45 minutes to reach double in size, remove and knead to press air out from dough.
4. Using roller pin to roll dough into long rectangular shaper about 12 inch in length, 8 inch in width.
5. With the help of a cutter, cut into 4 long strips, apply butter mixture on the surface for each strip
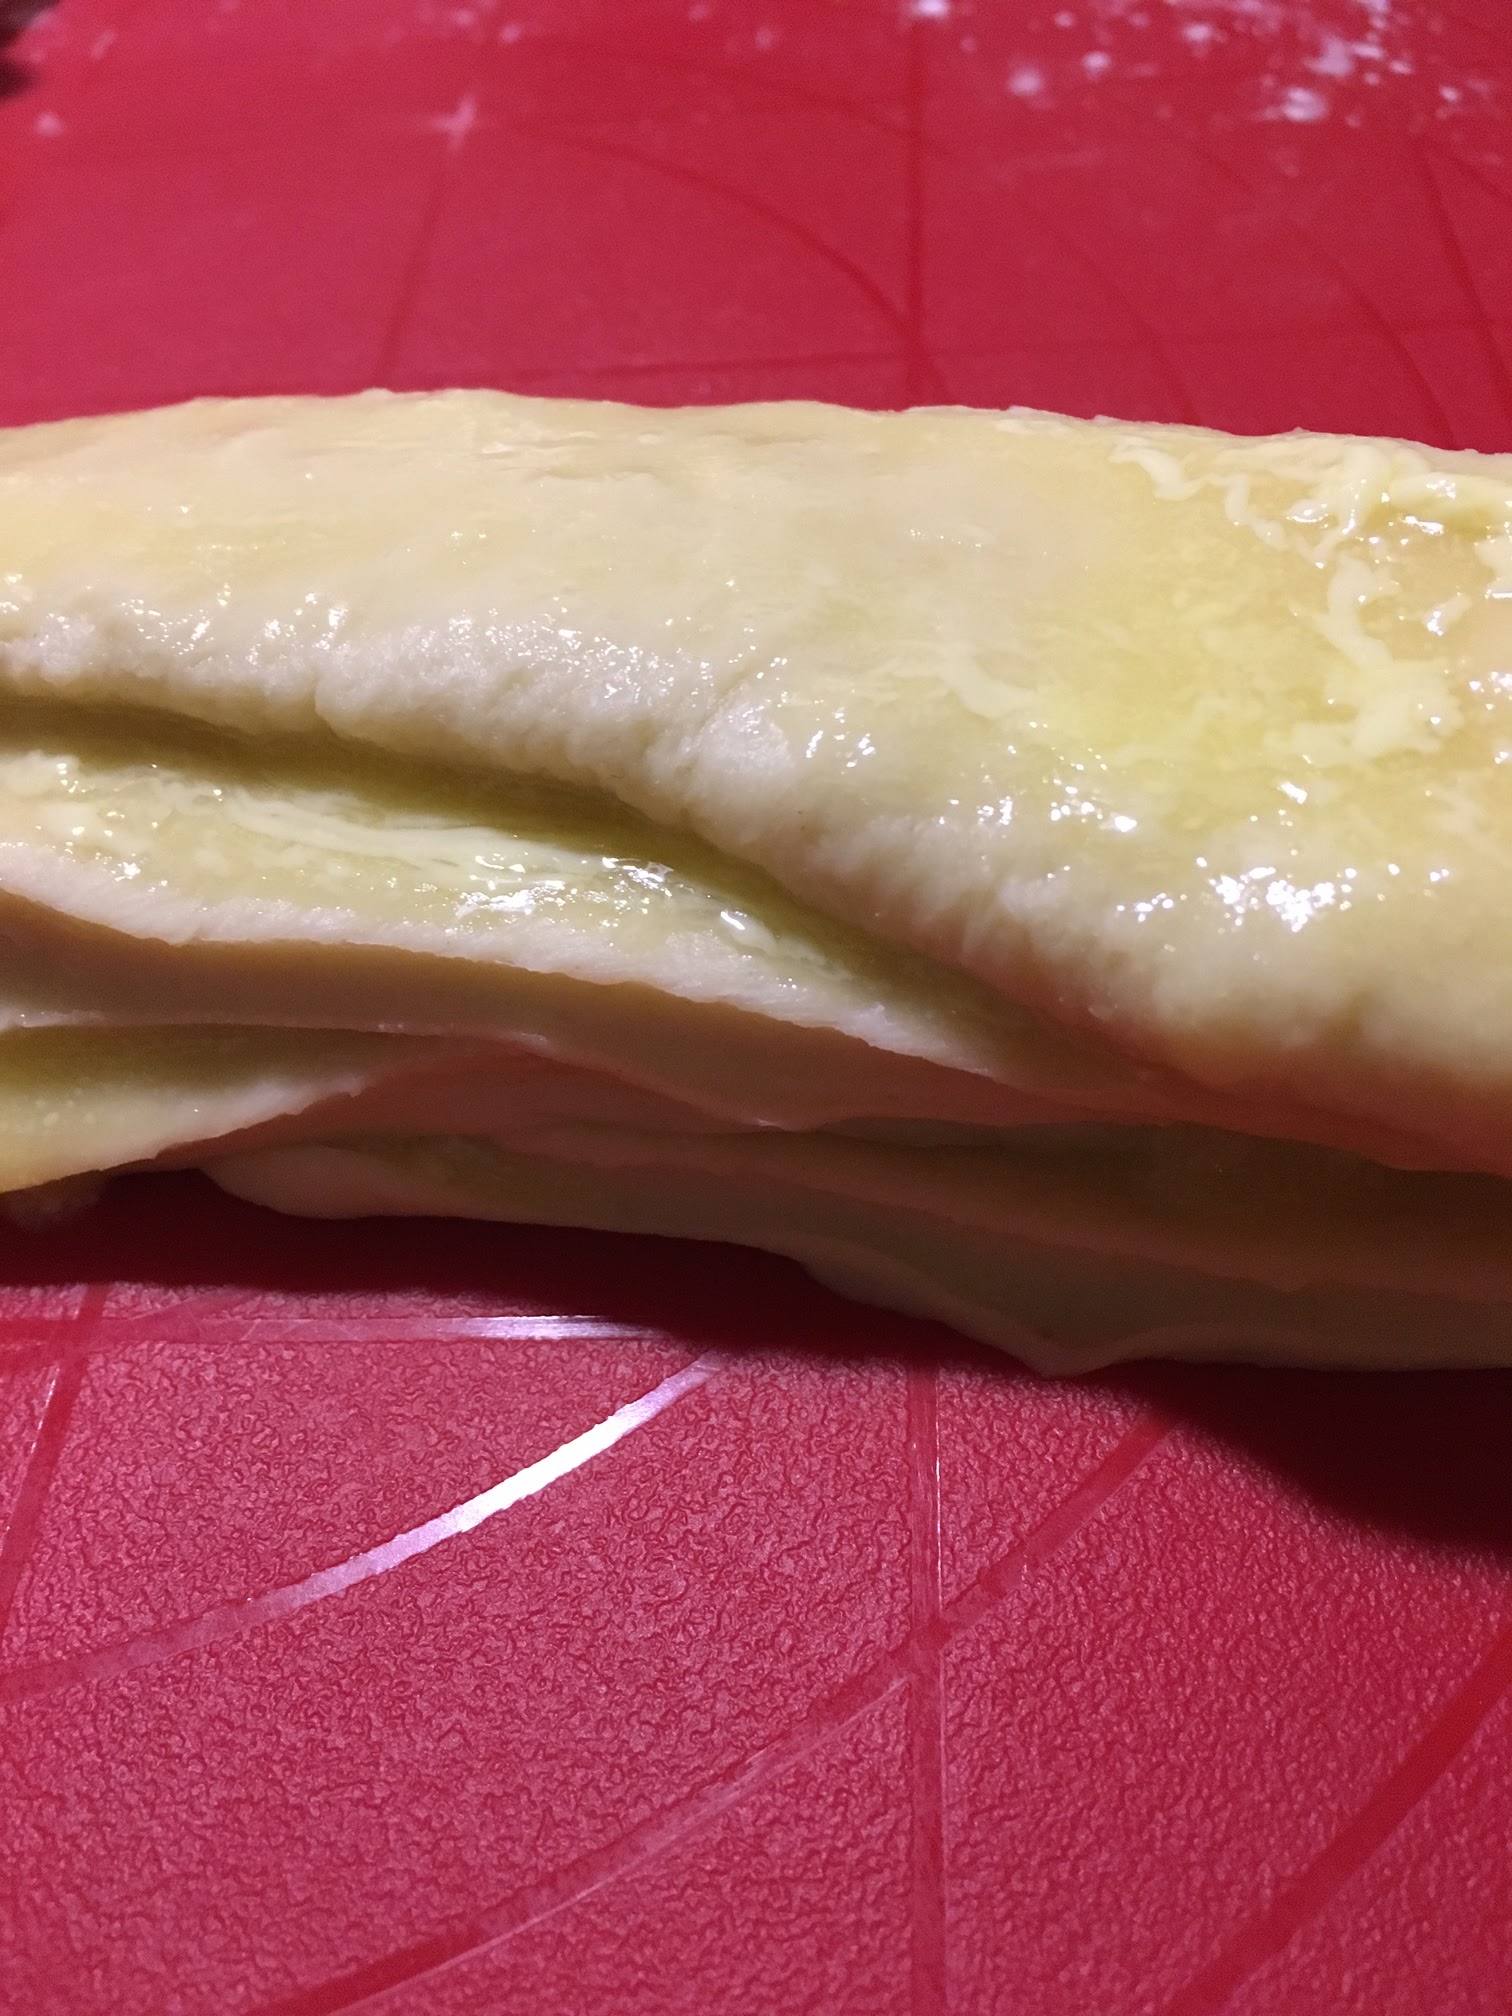
6. Then stack strip on top of each other to make 4 layers. Divide into 8 equal portions.
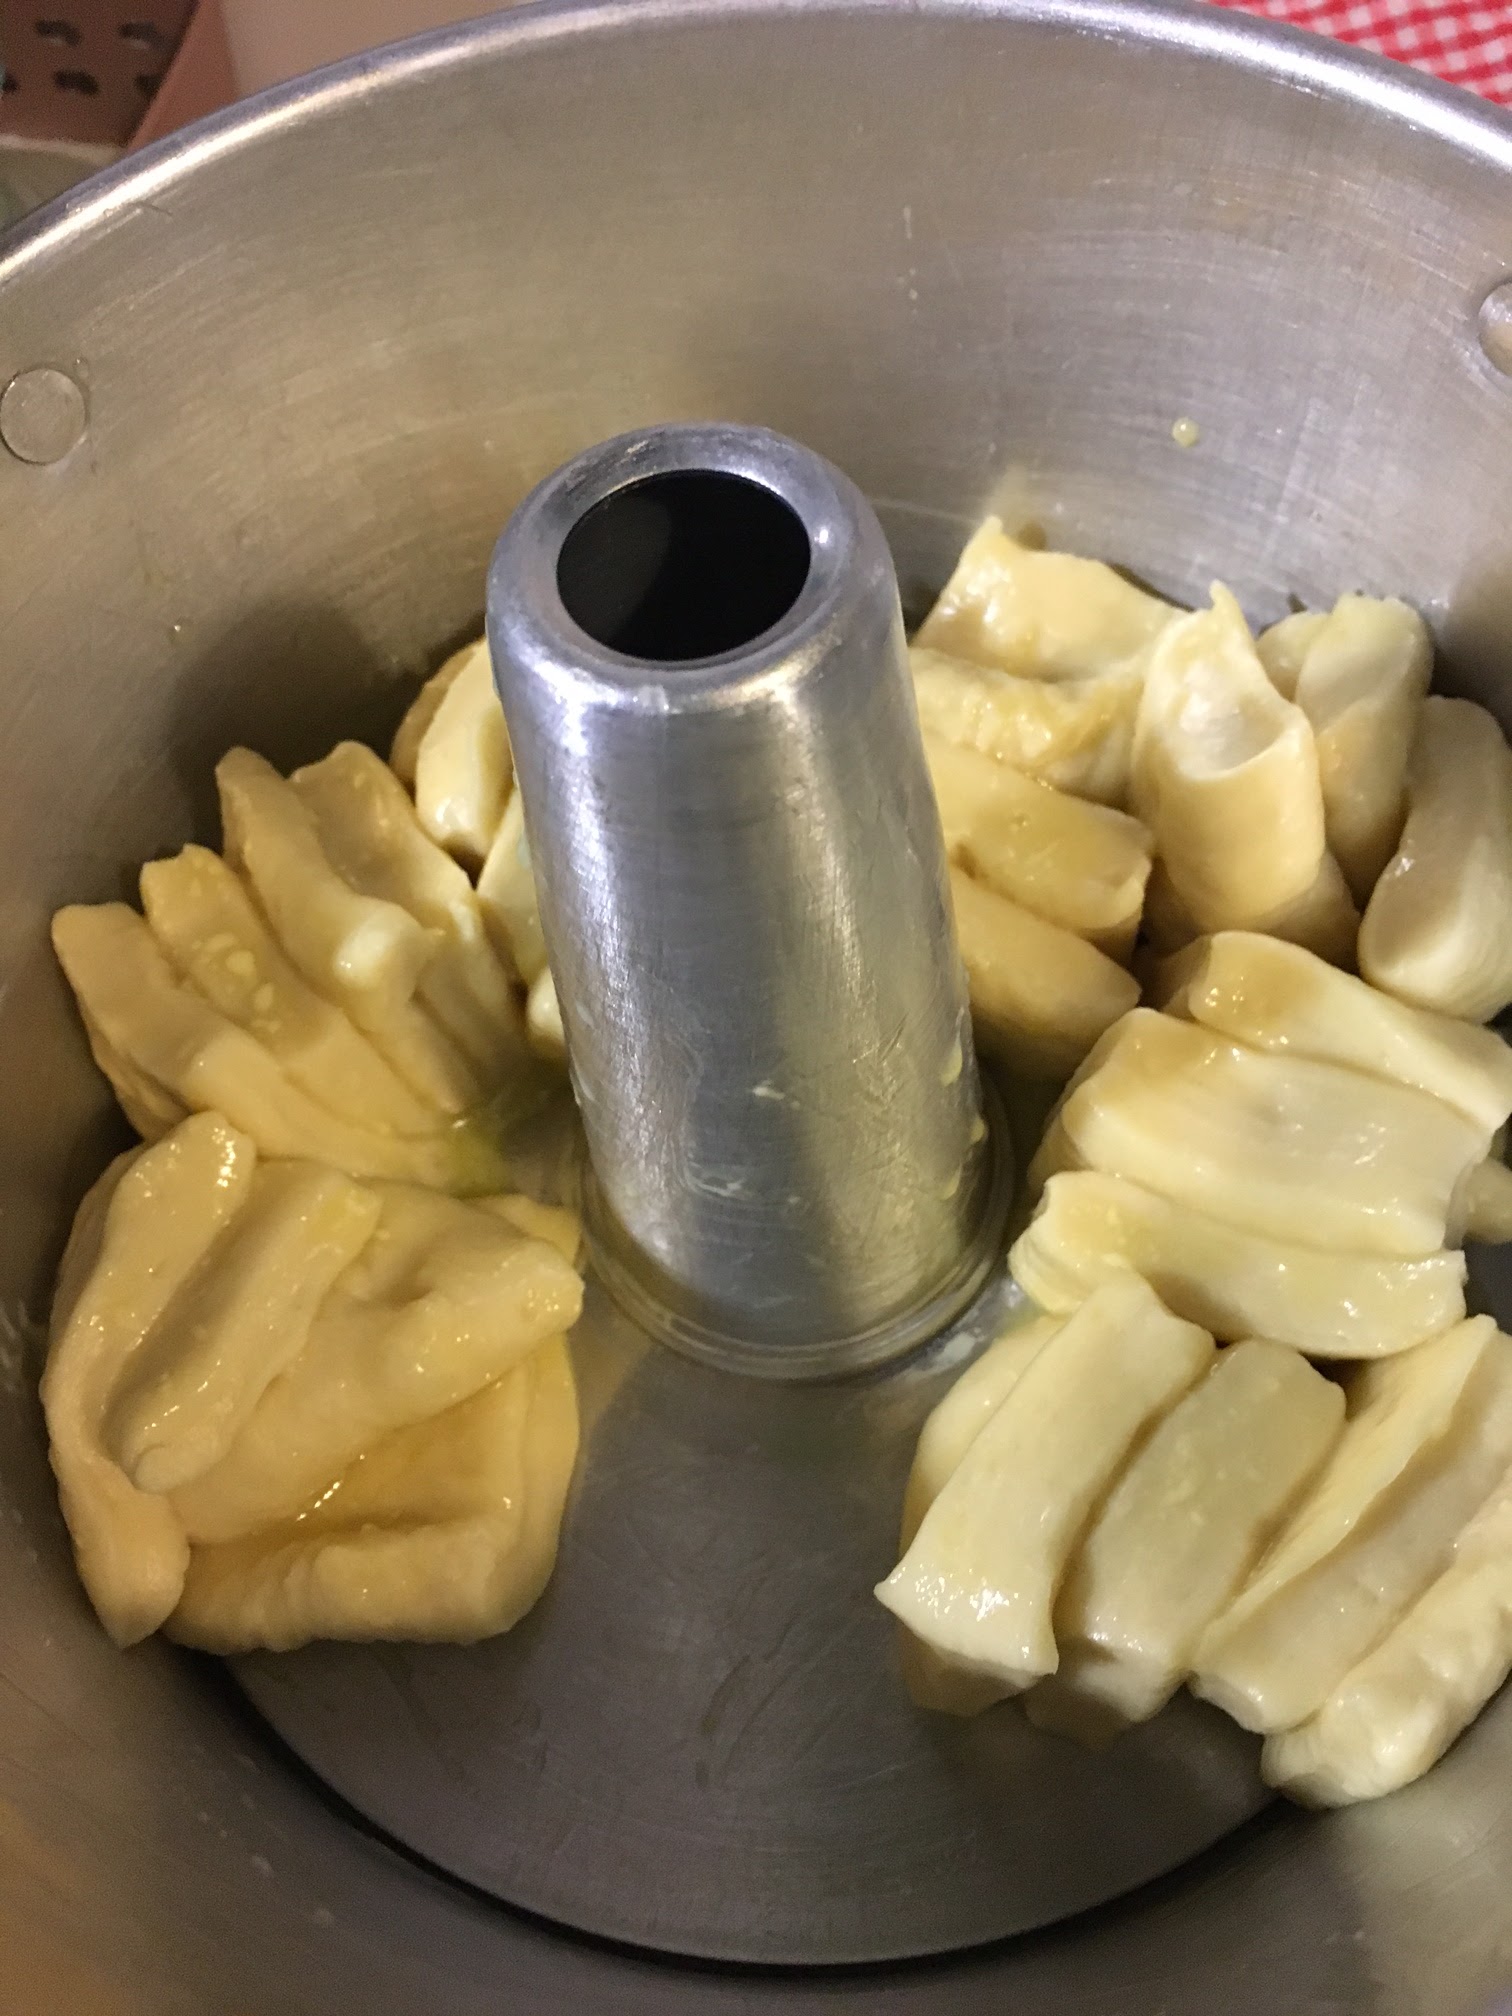
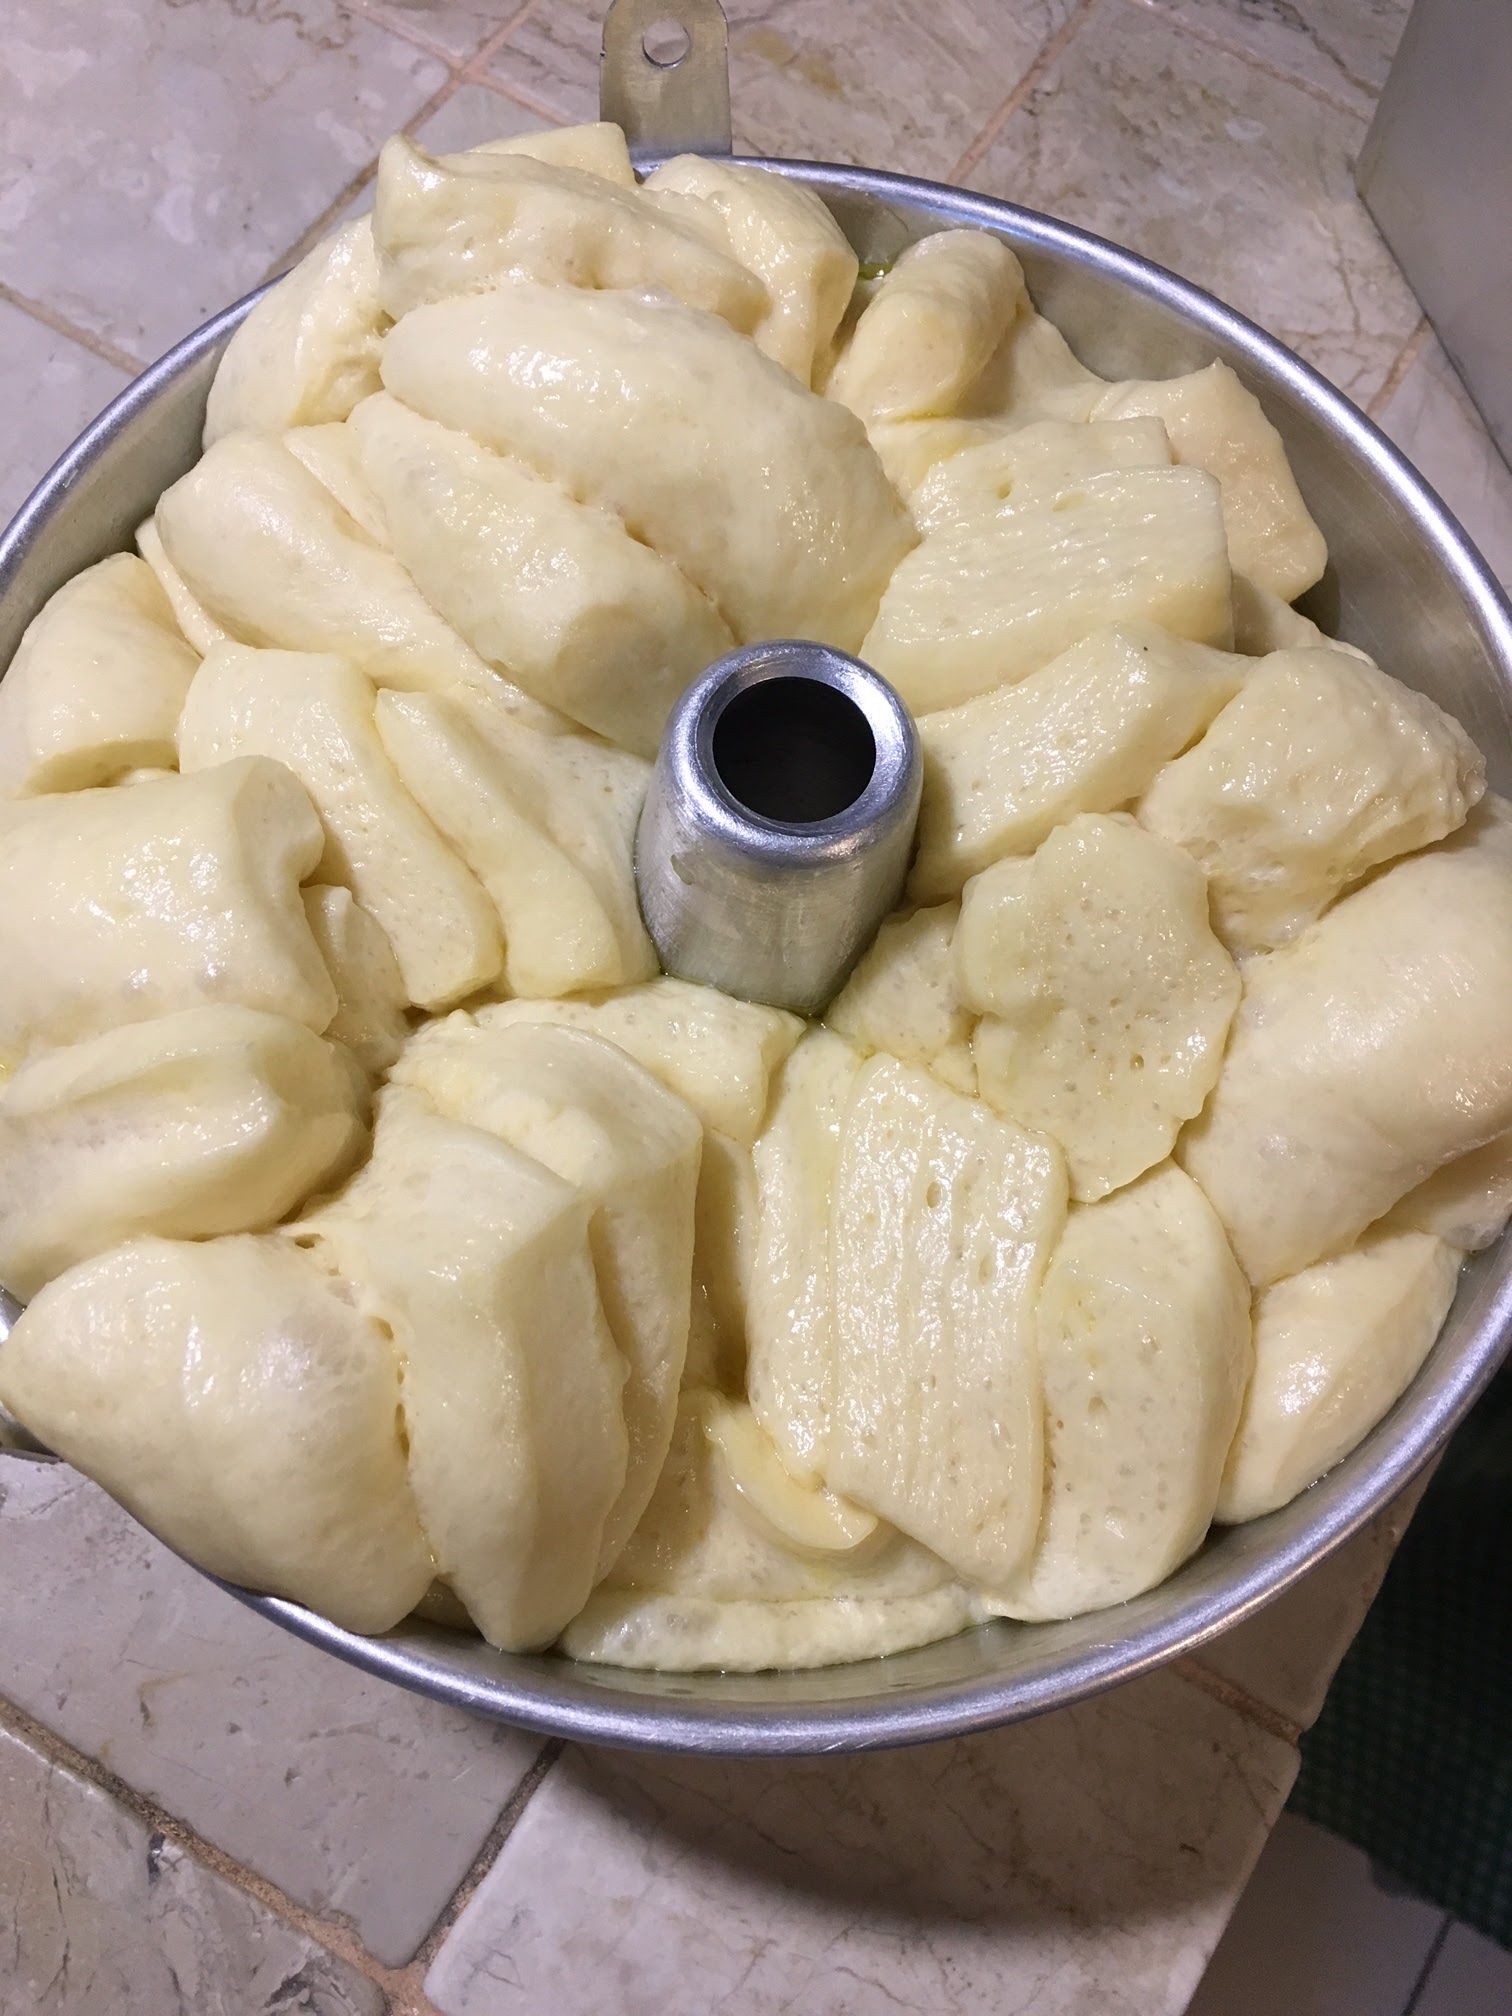
7. Laying each portion criss-cross vertically in a greased pan. Cover with sling wraps, 45 minutes for 2nd proofing.
8. Egg wash the surface, and pour in remaining condensed milk mixture. Sprinkle with Almond Flakes and sunflower seeds 
9. Bake in preheated oven 165°C for 25 minutes.


日式炼奶面包小美食谱

面包材料A:

200克 高筋面粉 
25克 炼奶   
120克 鲜奶
10克 细糖  
3克 干酵母 
3克 盐

面包材料B:
20克无盐奶油 室溫 

材料C 炼奶酱:
25克练奶 
25克奶油 室溫 

刷蛋液
一粒蛋黄(或蛋白),1/2茶匙水,打匀

裝飾:
杏仁片,太阳花籽 , 粗糖各少许( 其他:葡萄干, 蔓越莓,巧克力豆 等作装饰)

做法:

1. 面包材料A混合, 搅拌至成面团 

     速度6 / 6 分钟

2. 放入融解的牛油,继续搅拌 

     速度 6 / 6 分钟 或10分钟,至可以形成薄膜

*先放先放湿的材料,再放干的材料

3. 让面团在锅里第一次发酵,大概45分钟至发酵双倍大,取出面团用手按压面团, 挤出空氣。 

4.以面杆棍将面团杆成长方形,大约长12吋,闊8寸即可。


5. 再将面团切成4条长状,每條涂上练奶酱。 


6. 然后, 将每4条面团叠在一起, 平均分切成8等份。


7. 放入预先涂上炼奶酱模子里, 将分切好的面团块垂直放入, 以保鮮紙或湿布盖好,等待作第二次發酵至面团擴满模子。


8. 表面涂上全蛋液和剩余的炼奶酱, 再撒上杏仁片, 太阳花花籽儿 粗糖或巧克力豆个人喜爱装饰即可。 


9. 放入预热烤箱以165度烘烤25分钟即可。


Cut into 4 strips


Sewing Octopus Etsy MIni Shop

YoU May Also LikE theSe sToRies:

Related Posts Plugin for WordPress, Blogger...